GIMP Pixel Pattern Design.
Diseño de patrón para tricotosa electrónica.
GIMP for img2track & AYAB
Pattern Pixel 1Bit for electronic knitting machine.
En este primer tutorial explicaré de forma sencilla cómo realizar un patrón de punto en píxeles (B&N), para luego, poder tejerlo en la tricotosa electrónica con ayuda de AYAB o img2track, con tanta anchura (puntos) y largura (vueltas) como deseemos, sin restricciones en el diseño.
In this first tutorial I will explain in a simple way how to make a knitting pattern in pixels (B & W), then we can knit it in the electronic knitting machine with the help of AYAB or img2track, with as much width (stitches) and length (rows) as we wish, without restrictions in the design.
Entendemos por píxel, en punto, que es cada punto/aguja de la tricotosa. Escogemos de la imagen lo que queremos que se repita, para diseñar nuestro patrón/estampado.
We understand by pixel, in knitting, which is each stitch/needle of the knitting machine. We choose from the image what we want to repeat, to design our pattern.
Podemos diseñar logos, textos, single motif, etc. o bien elegir una tarjeta perforada (punch card en inglés), que luego serán tejidos fácilmente.
We can design logos, texts, single motif, etc. or choose a punch card, which will then be easily knitted.
Voy a usa el program GIMP, aunque también podéis usar otros programas como; Photoshop, Affinity Photo, Krita…
I am going to use the GIMP program, although you can also use other programs like; Photoshop, Affinity Photo, Krita …
GIMP es un programa de gráficos y retoque de fotografía, es gratuito y de libre uso. Podéis instalarlo en cualquier ordenador (PC, Mac & Linux). Además en la última versión 2.10 ha mejorado bastante.
GIMP is a program of graphics and retouching of photography, it is free and free to use. You can install it on any computer (PC, Mac & Linux). Also in the latest version 2.10 has improved a lot.
El primer tutorial es Gimp Pixel Pattern Design, siendo lo más básico y fácil para comenzar a diseñar nuestros propios diseños. Para inspiraros usad; libros y/o revistas con diseños de tarjetas perforadas prediseñadas, conocidas en inglés como «punch-cards», hay miles de diseños. También en Internet y sobre todo en Pinterest encontraréis muchísimas, o bien cread algo único y nuevo con vuestra imaginación.
The first tutorial is Gimp Pixel Pattern Design, being the most basic and easy to start designing our own designs. To inspire you to use; books and / or magazines with pre-designed punch card designs. There are thousands of designs. Also on the Internet and especially on Pinterest you will find many, or create something unique and new with your imagination.
Una vez que esté terminado nuestro diseño en GIMP, lo exportamos a .PNG y estará listo para cargarlo en el software que estemos utilizando en nuestra tricotosa electrónica, éstos son los dos más conocidos y utilizados:
Once our design in GIMP is finished, we export it to .PNG and it will be ready to load it in the software that we are using in our electronic knitting machine, these are the two best known and used:
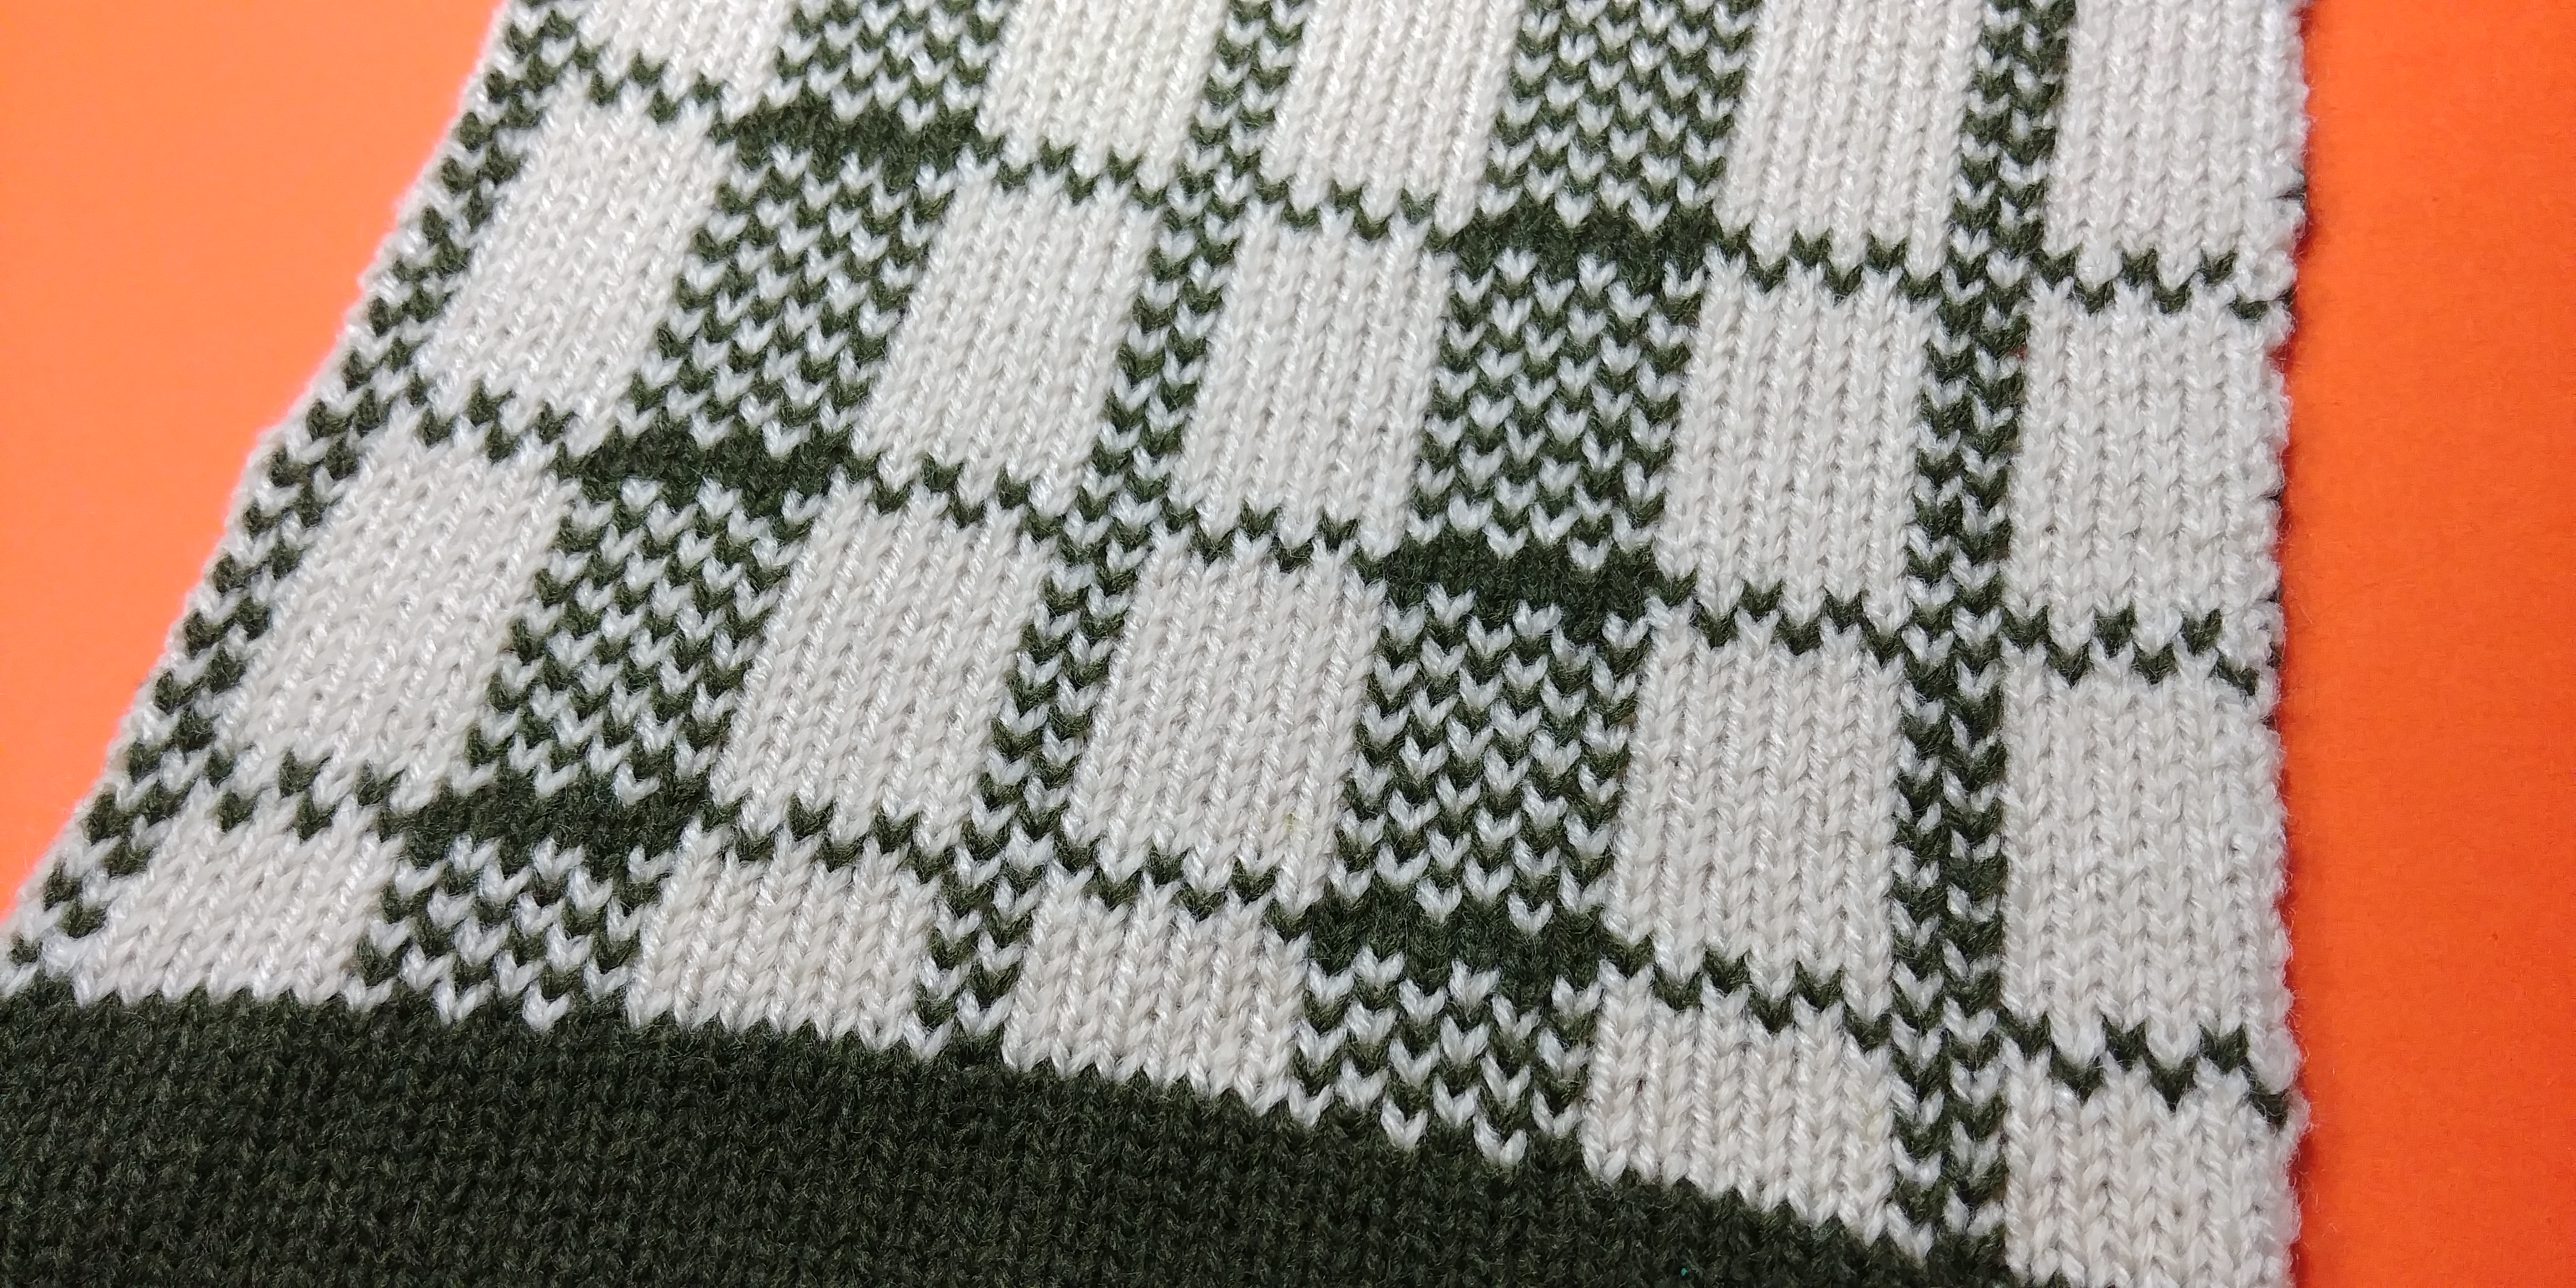
Para este diseño he escogido la técnica Fair-Isle (tejido Noruego) a dos colores para ser tejida en la tricotosa. Al final del post, os muestro la imagen con el resultado final.
For this design I have chosen the Fair-Isle technique with two colors to be knitted in the knitting machine. At the end of the post, it is the image with the final result.
_________________________________________________
Tutorial GIMP: Diseño de Patrón / Pattern Pixel.
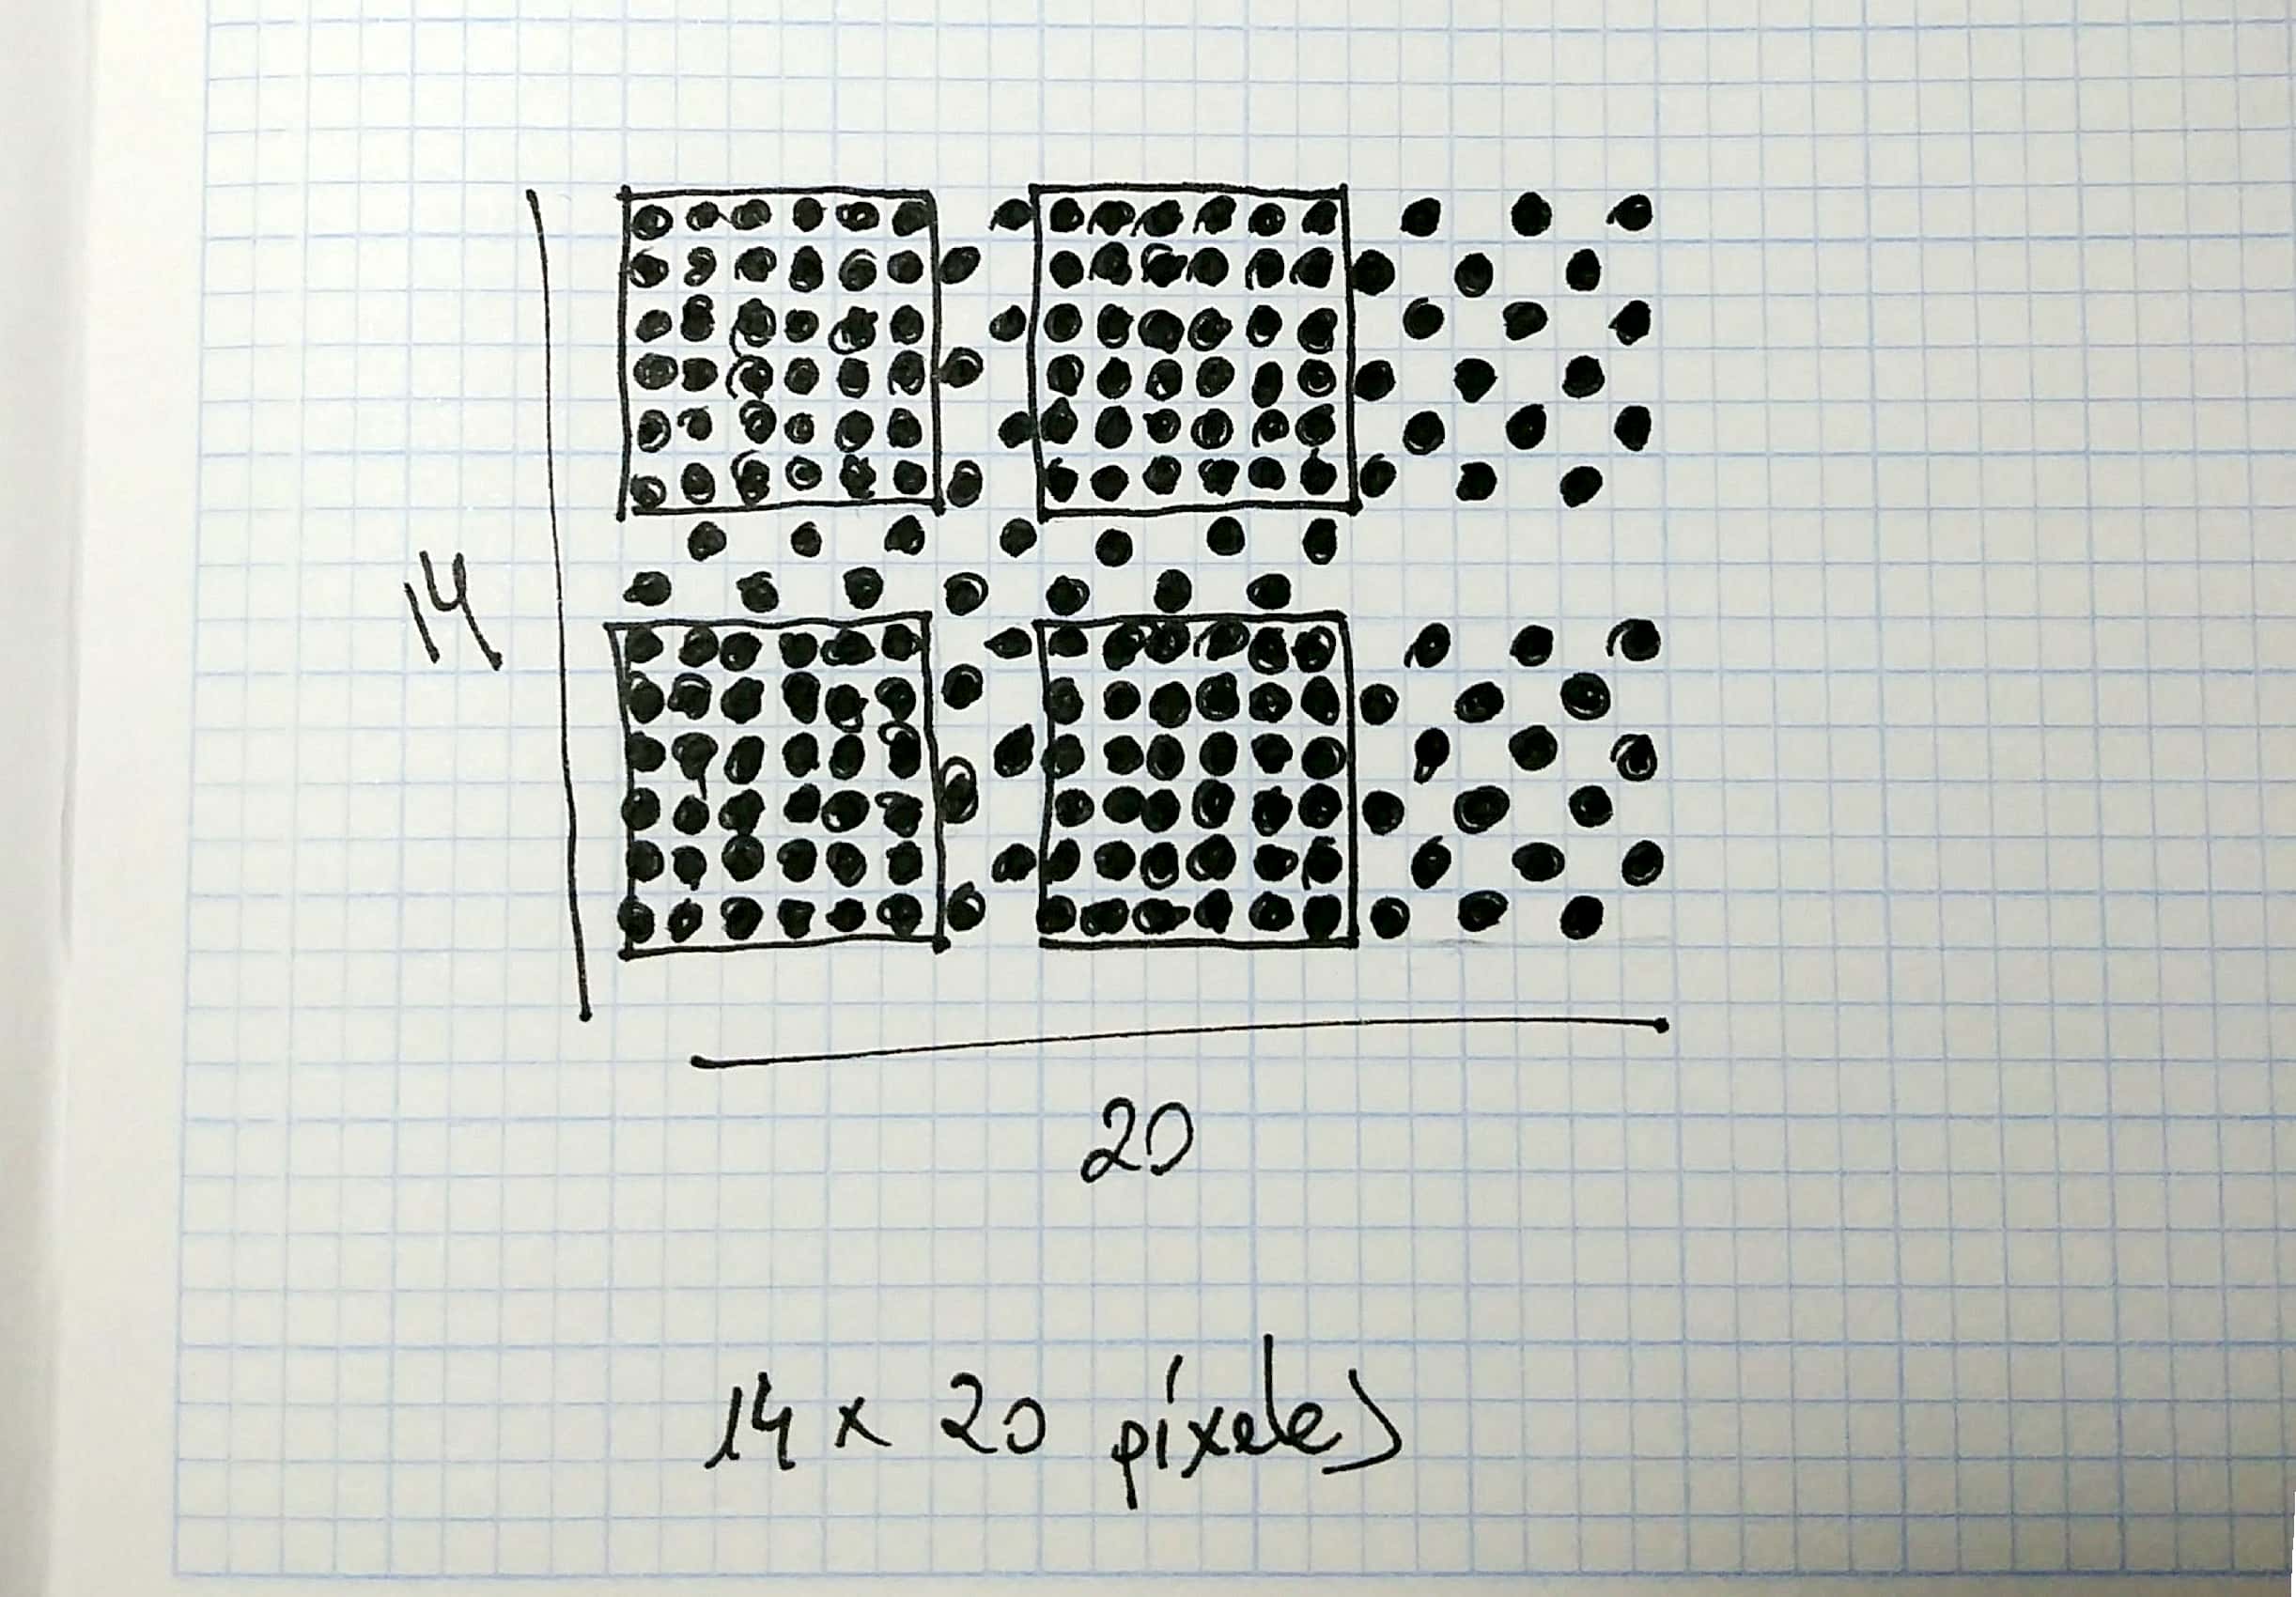
1) Una vez que tengas la idea, haz el boceto en un papel cuadriculado.
– El cuadrado o píxel en BLANCO es el color de fondo del tejido:
(alimentador A en el carro).
– El cuadrado o píxel en NEGRO es el segundo color:
(alimentador B en el carro).
1) Once you have the idea, make the sketch on a graph paper.
The square or pixel in WHITE is the background color of the fabric:
(feeder A in the carriage).
The square or pixel in BLACK is the second color:
(feeder B in the carriage).
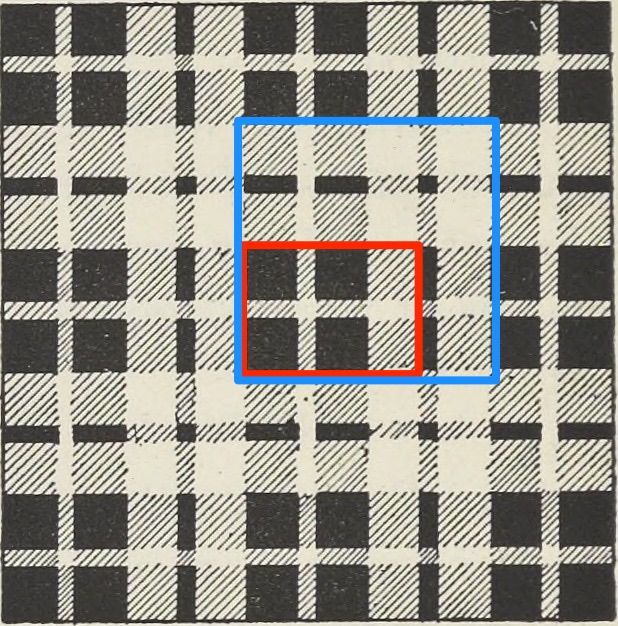
He escogido este imagen de Internet. Ten en cuenta cuál será la repetición del estampado o lo que desees.
I have chosen this image from the Internet. Keep in mind what will be the repetition of the pattern or what you want.
Según mi diseño, tengo 14 puntos/píxeles de alto por 20 puntos/píxeles de ancho.
According to my design, I have 14 stitches / pixels by 20 stitches / pixels.
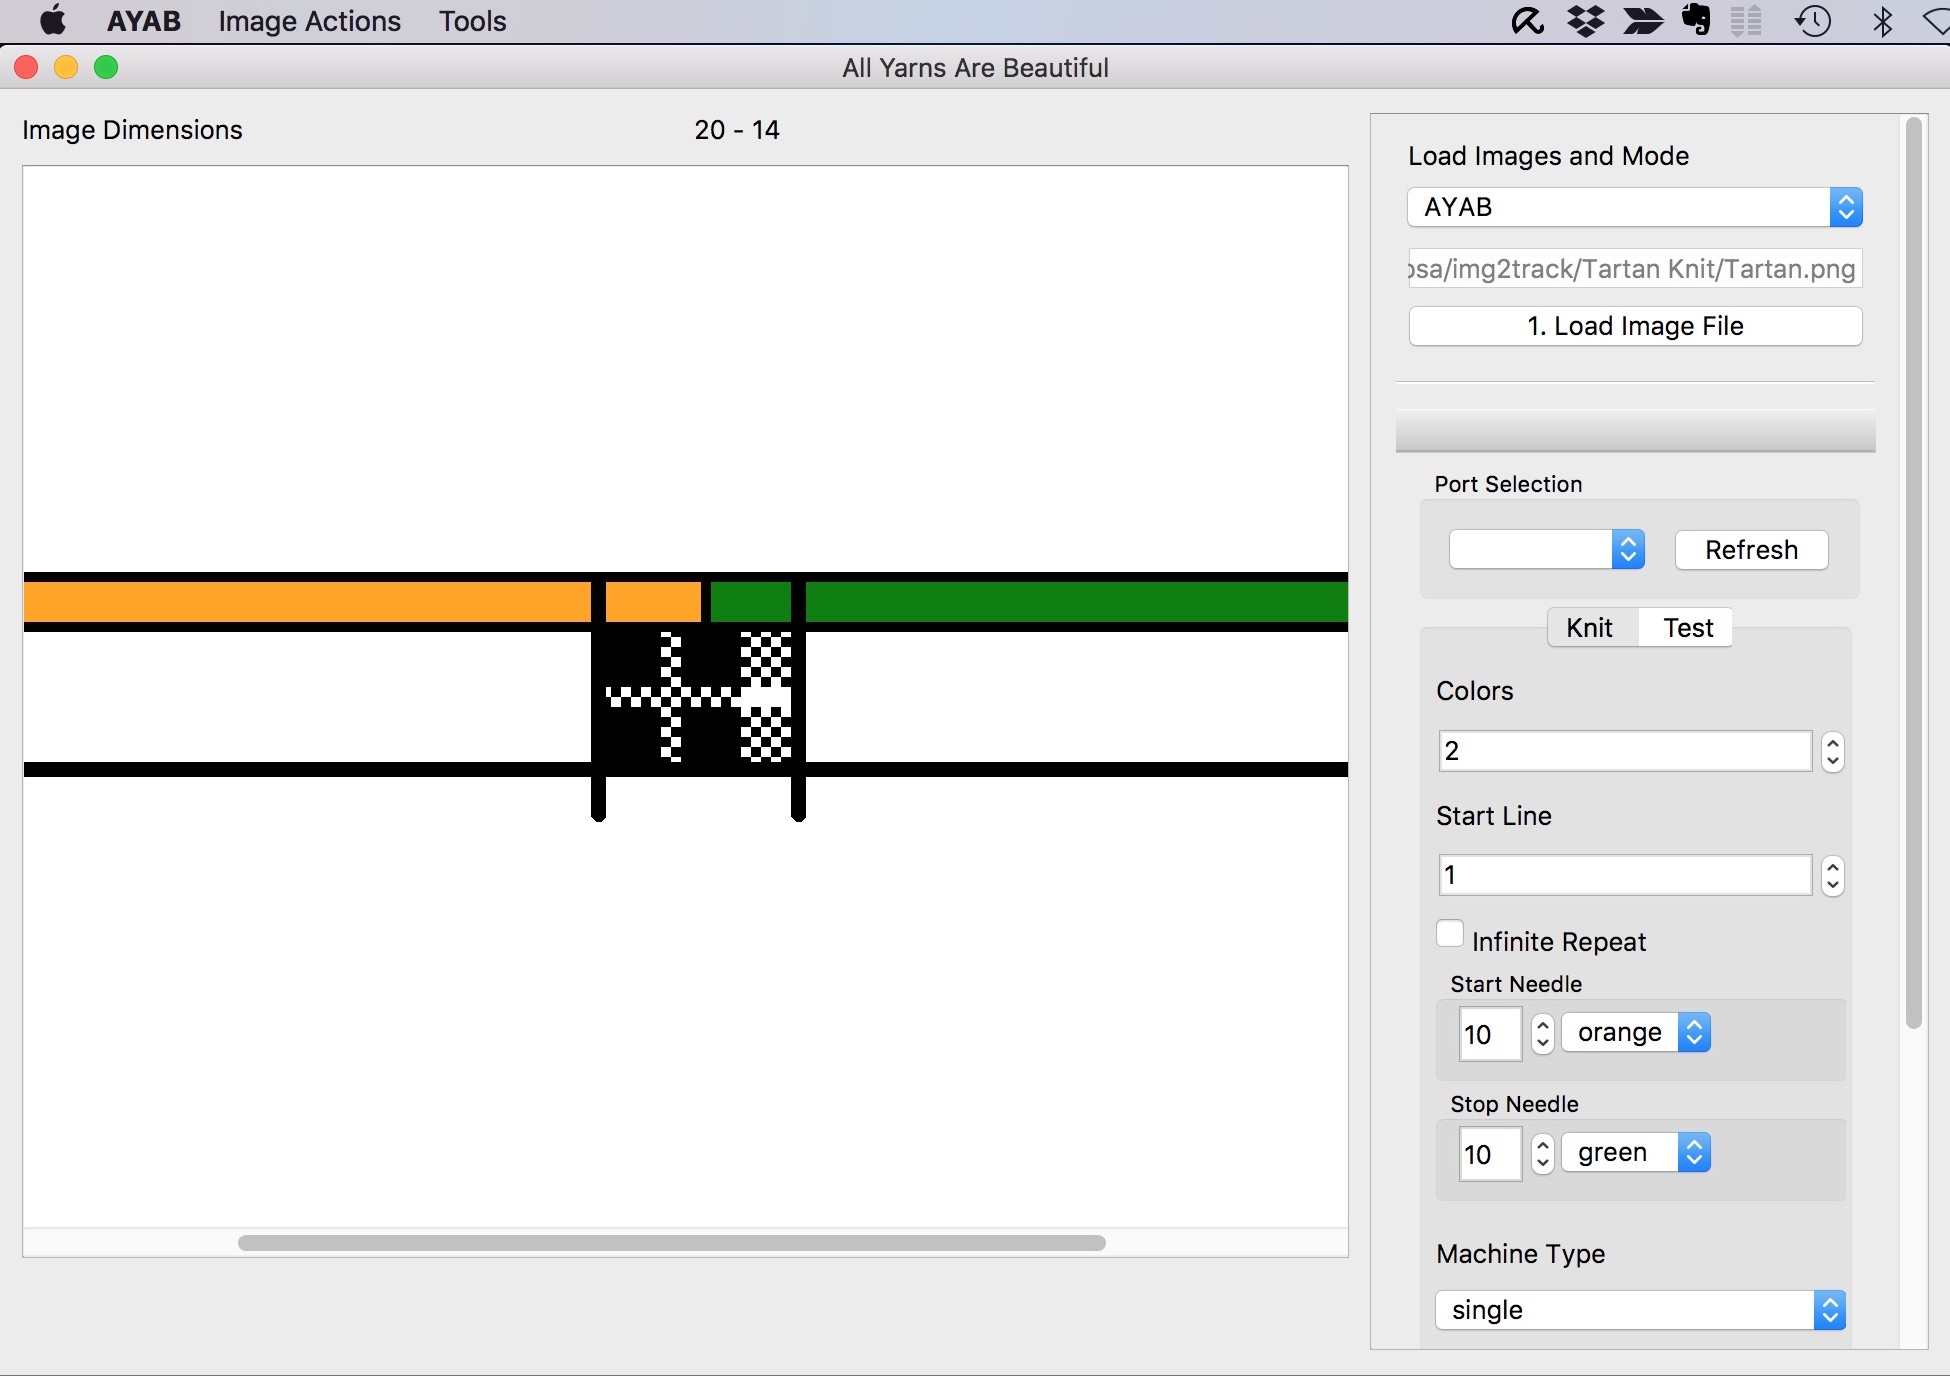
2) Abrir GIMP.
Archivo/Nuevo
(Aquí introducimos los píxeles en anchura y altura de mi ejemplo: 20×14; en unidades «px» y desplegamos menú «Opciones avanzadas» y en «Rellenar con» elegir «Blanco». Tal y como muestra la imagen siguiente:
2) Open GIMP.
File / New
(Here we introduce the pixels in width and height of my example: 20×14, in units «px» and we display «Advanced options» menu and in «Fill with» choose «White», as shown in the following image:
3) Es posible que el tamaño de nuestra imagen o lienzo se vea muy pequeño, seleccionar la herramienta «Lupa» del panel izquierdo de herramientas. Y hacer click varias veces sobre la imagen para aumentar.
3) It is possible that the size of our image or canvas looks very small, select the tool «Zoom (Loupe)» from the left panel of tools. And click several times on the image to increase.
4) Seleccionar la Herramienta «Lápiz», en el panel de información de dicha herramienta, selecciona; «1. Pixel«, el tamaño debe ser 1.00 y la dureza al 100%.
4) Select the «Pencil» tool, in the information panel, select; «1. Pixel«, the size should be 1.00 and the hardness 100%.
5) Ahora ya podemos dibujar en píxeles (B&N) y replicar el boceto previo en papel en GIMP.
5) Now we can draw in pixels (B & W) and replicate the previous paper sketch in GIMP.
Nota: Si os equivocáis al poner un píxel en color negro o bien queréis cambiar a blanco, con el icono de doble flecha, podéis intercambiar entre blanco y negro.
Note: If you are wrong to put a pixel in black or you want to change to white, with the double arrow icon, you can swap between black and white.
Una vez finalizado nuestro diseño en Gimp…
Once we finished our design in Gimp …
IMPORTANTE: IMG2TRACK o AYAB trabajan con el formato .PNG, en el caso que no lo tengáis en dicho formato de archivo, tenéis que exportarlo:
IMPORTANT: IMG2TRACK or AYAB work with the .PNG format, in case you do not have it in this file format, you have to export it:
Archivo/Exportar como
(En caso de no tener nombre de archivo, teclea el deseado. Escoge ubicación donde se guardará dicho archivo. Escoge archivo por tipo de extensión .PNG. Click en Exportar y luego de nuevo Exportar).
File / Export as
(If you do not have a file name, type the desired one). Choose the location where the file will be saved. Choose file by extension type .PNG and Click on Export and then again Export.
El archivo con extensión .PNG, lo cargaremos en el programa img2track o AYAB, y éste, lo enviará a nuestra tricotosa para ser tejido.
The file with extension .PNG, we will load it in the program img2track or AYAB, and this one, will send it to our knitting machine to be knitted.

Para tejerlo, sigue las instrucciones de tu tricotosa.
El RESULTADO DEL EJEMPLO:
To knit it, follow the instructions of your knitting machine.
The RESULT OF THE EXAMPLE:
Espero que os haya sido de interés.
Podéis dejar vuestros comentarios y sugerencias.
I hope you have been interested.
You can leave your comments and suggestions.
Saludos. Greetings.
Víctor Manuel Gómez.

Estimado Victor te felicito por tu blog…
Como puedo diseñar un patron en computadora e imprimir para tejer en una maquina brother a tarjeta.
Es el mismo procedimiento de diseño para una maquina eléctrica de tejer..
Me gustaMe gusta
Gracias. Creo que hay una web que te podría ayuda en ello, se llama:
https://oknitme.serpicanaro.org/
Me gustaMe gusta
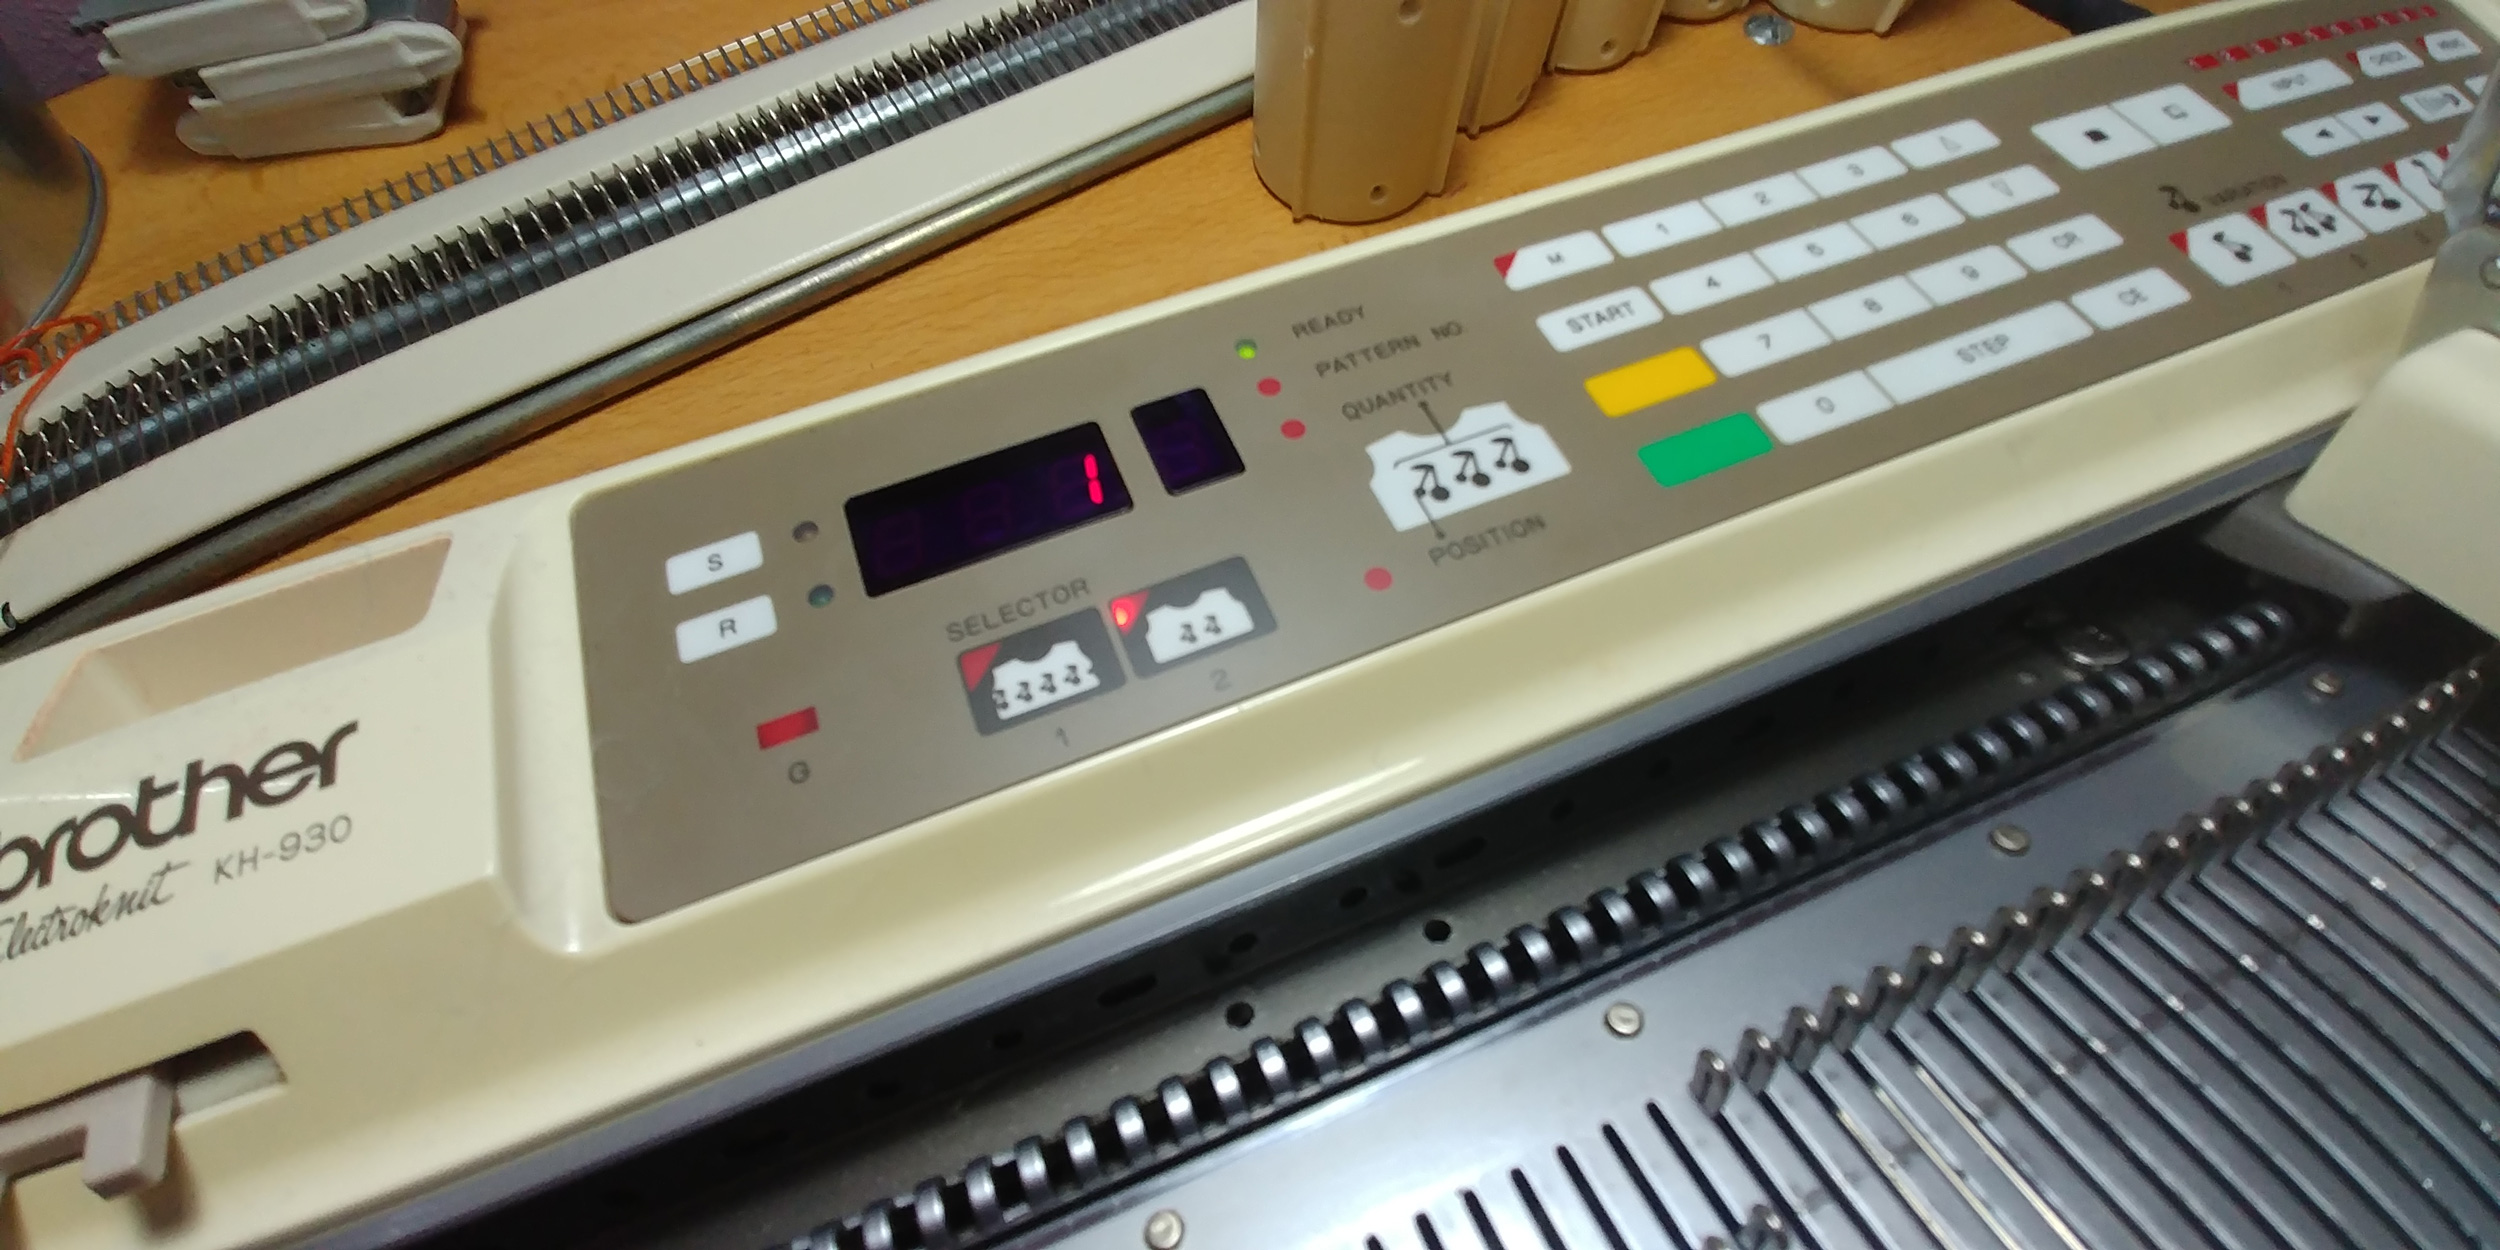
Buenos dias victor , agradeciendo de antemano su respuesta , al usar el ayab o el img2track se conservan las funciones originales del panel original ?(todos los botones originales que vienen con la maquina electronica) , o se pierden , y esto como se ve en las series 940 , 950 , 965 y 970 , gracias …..
Me gustaMe gusta
Hola Ricardo! En cuanto a AYAB probado en la 910 y 950i, las funciones del panel original se pierden pero podrías volver a poner el panel original cuando quisieras, no es algo rápido de hacer, por lo que tienes uno u otro. En el caso de que AYAB no cumpla tus expectativas, siempre podrás volver al panel original.
En cambio, si usas img2track, no tienes que cambiar ninguna placa, solo tienes que comprar un cable y el correspondiente programa y sólo funciona en estos modelos: KH‑930, 940, 950i, 965i, and 970. En el resto te quedaría usar su panel original o bien utilizar AYAB.
Espero haberte resuelto las dudas. Saludos! Víctor.
Me gustaMe gusta